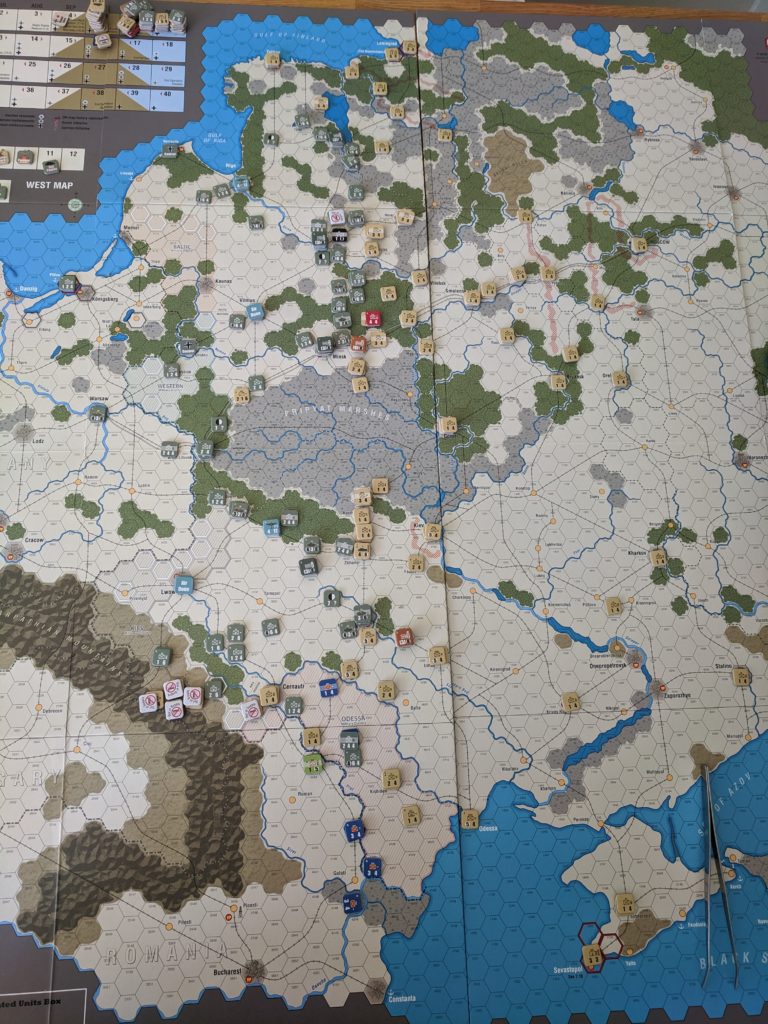
The end of the campaign was already in sight after the last two turns. There was little to no progress in either AG. There are some harsh penalties for Axis units fighting in Snow and away from cities (they are treated as OOS and use a worse CRT). Although a few attacks were made at 3:1 odds, die rolls resulted often in NE — no effect results.
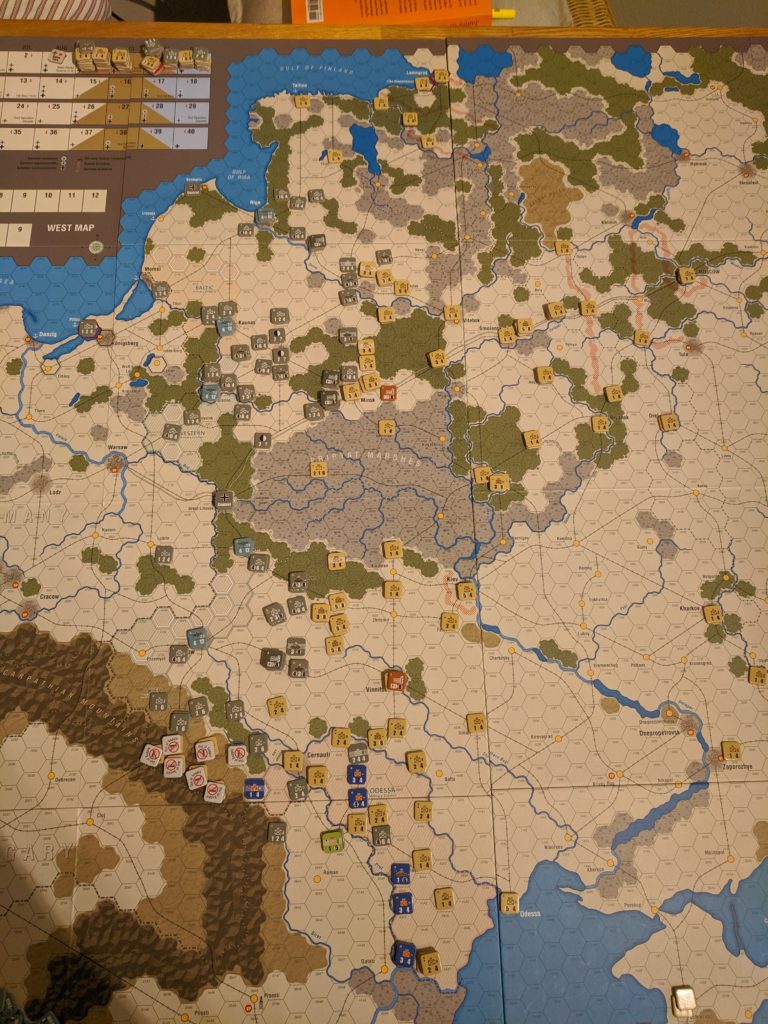
Soviet counter-attacks were successful in the center and even succeeded in encircling some Armies. Stavka HQ plus its reserve was able to break through in the center:
End of Barbarossa.
In the end, I counted 20VP for the Axis, way short of the 30VPs required for a victory (and just a paltry 6VP made from the starting positions).
I’ll gather my thoughts on the system in another post but here are the observations of this game:
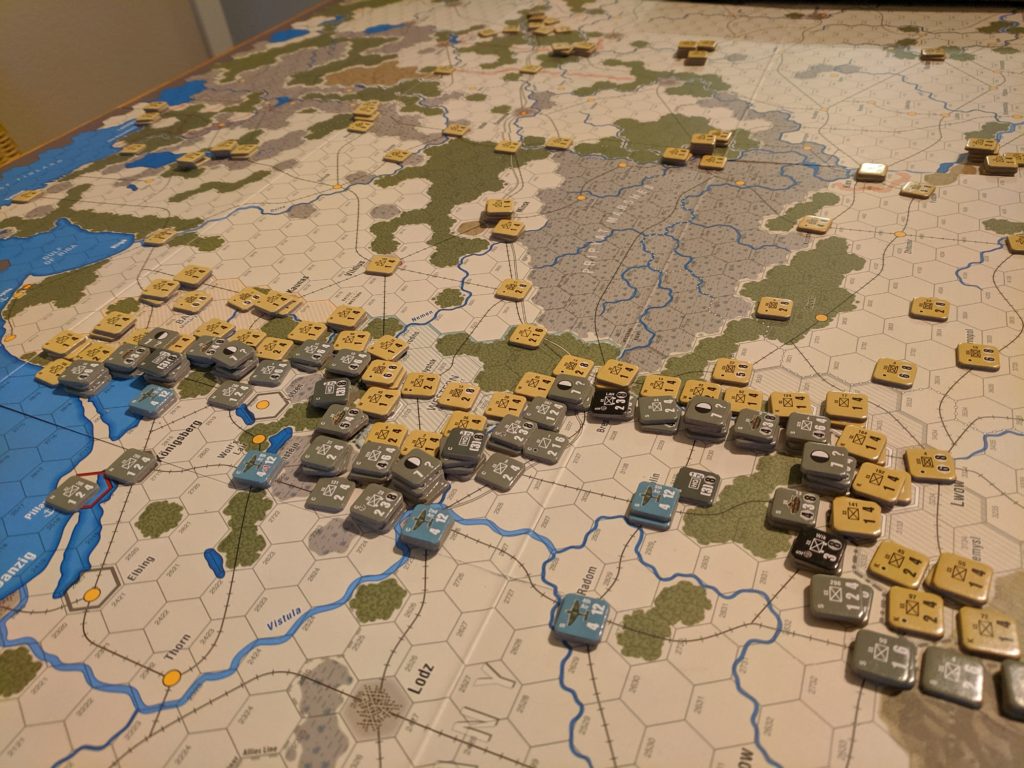
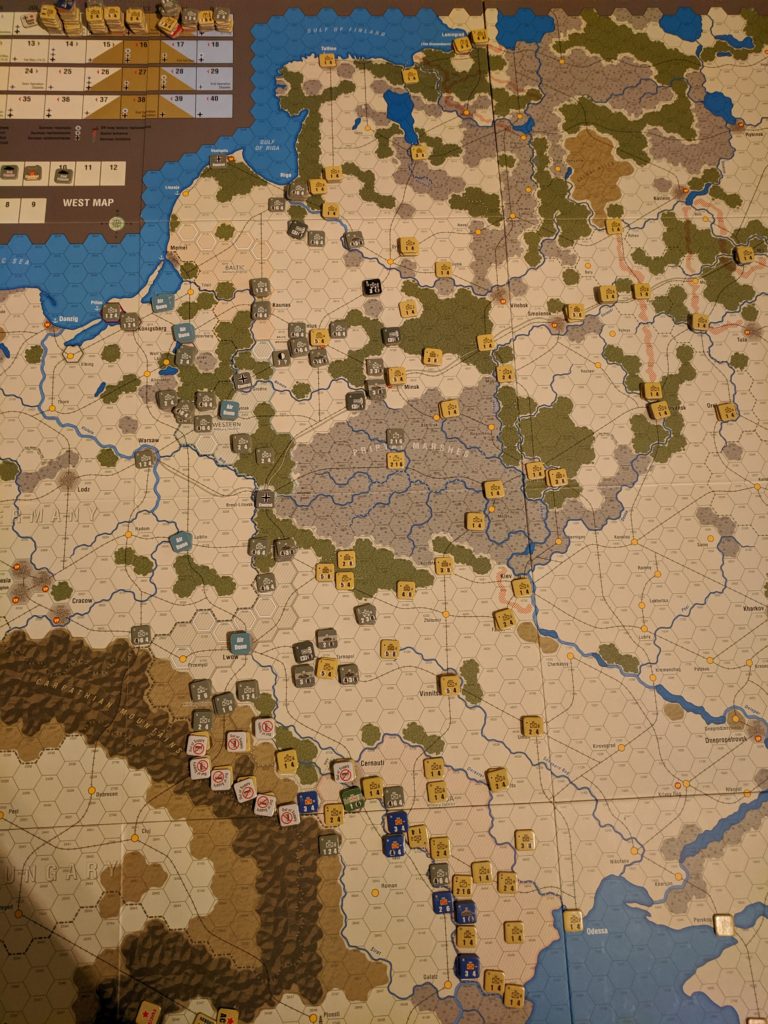
AG North was making steady progress and was the closest to the historical result as they advanced continuously. AG Center started well but ran into problems with terrain. There are lots of woods on the way and the armored units of 2nd and 3rd Pz Army might have been better used further in the south. Two big encirclements were initially achieved early but lucky chit draws allowed the Soviets to withdraw most of their troops without issue. This was the most force-on-force push-and-shove theater. I’m not sure how to do better next time though — the area of operations feels cramped on all sides.
Stavka HQ was able to breach the Axis line in later Winter in the center. Similarly, the Pripyat Marshes were No-Go zones for the Axis which resulted in two Soviet cavalry raids on the supply depots and lines.
The South saw the wholesale destruction of almost all Axis allied forces. Missing the Odessa-front special activation rule completely resulted in zero progress towards Odessa (the Romanian units are maybe 2 hexes from their starting line). I’m also still not sure whether the Soviet units in the Carpathian mountains should last that look. While they’re OOS, they’re not isolated which means they don’t get removed from play.
What becomes apparent at this point in time is that the game is (already) over for the Axis. The Soviets get a minimum of 25 strength points to rebuild this turn as no industrial center was captured yet. This means that every turn five 5-2 Soviet armies are built in addition to the normal reinforcements. The Axis, on the other hand, get little to no reinforcements or replacement points.
I’ll play a couple more turns but the writing is already on the wall for the Axis side.
Turns 5 and 6 saw the first Rasputitsa. All offensives ground pretty much to a halt with only little gain. The Kossak raid on the rear Guard unit this turn saw the attacking unit destroyed but forced the axis player to withdraw units to guard the previously undefended flank of the Prypiet Marshes.
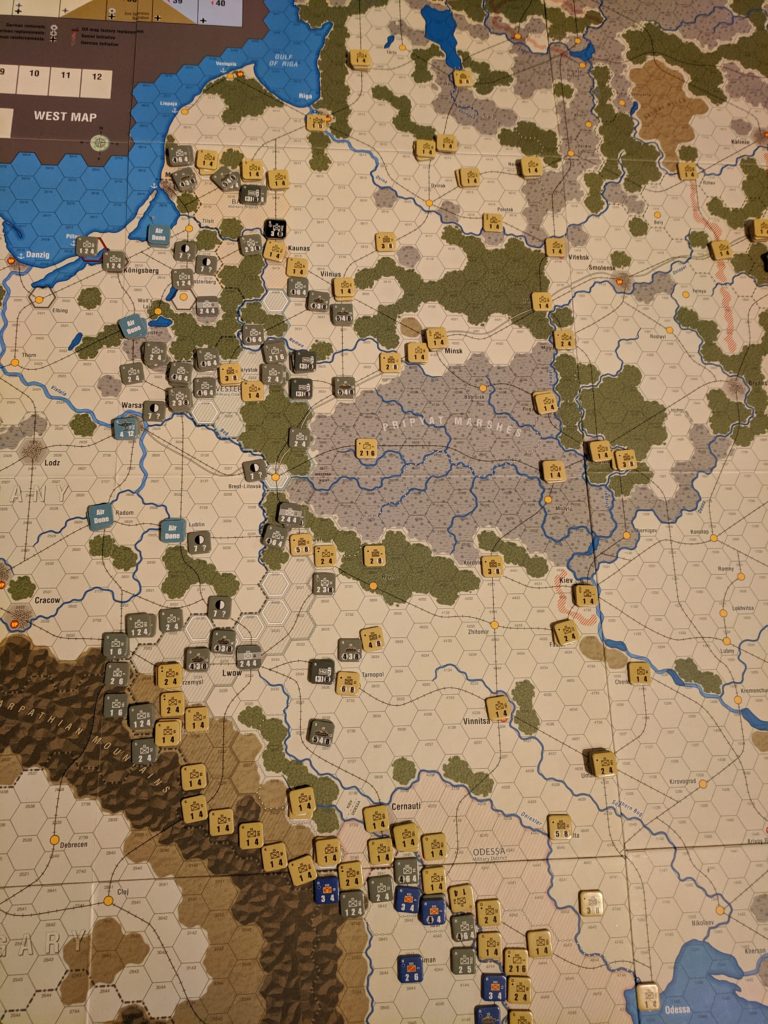
The biggest change right now is that the Soviets can rebuild 20 strength factors a turn, which I’ve been putting into 4 full-strength 5-4 infantry armies (which also have ZOC). By now, the Soviets are in a position of already place solid secondary lines of defenses, while the Axis is still at least one turn away from either Leningrad’s or Kiev’s defenses and not even close to Moscow’s outermost defense ring.
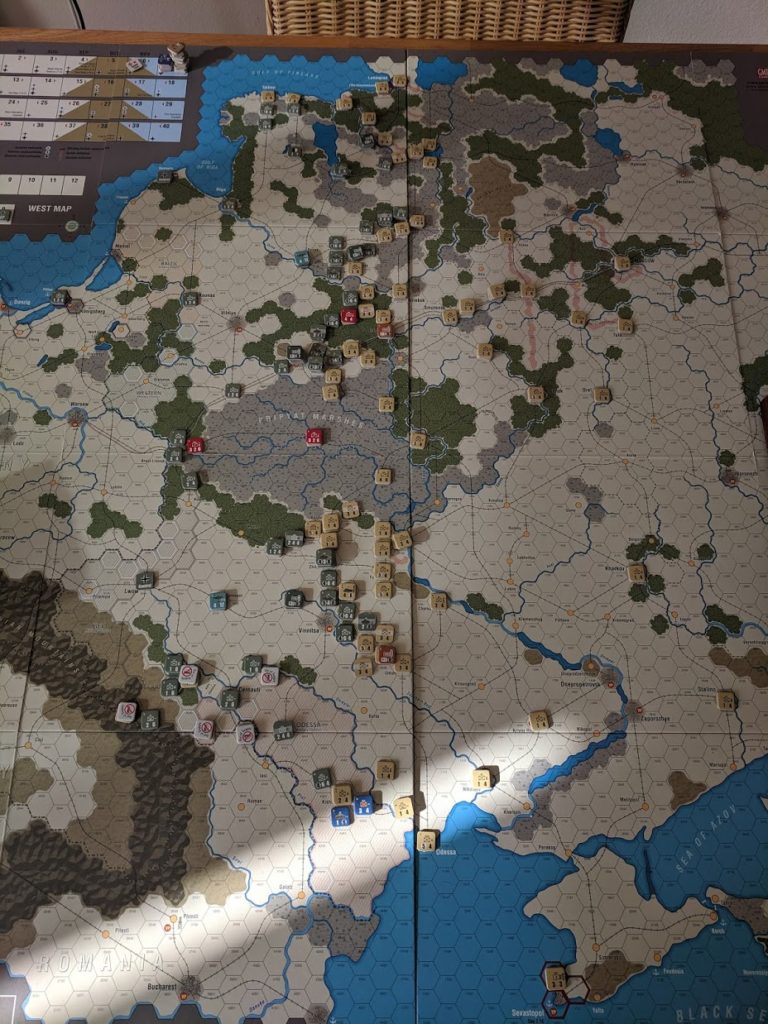
End of turn 6. Pretty much all Soviet forces are now stacks of two or three units deep.
It’s pretty clear now that the A is will not reach this scenario’s finish line — the starting position for Case Blue, let alone Moscow. I’m already trying to figure out where and what went wrong but this scenario still has some turns to go. On to the winter turns in which Axis forces distant from city hexes fight as if OOS and fresh Soviet shock armies have arrived
Turn 3 and 4 (August and September ’41) of the Barbarossa play through. The game is still chugging along but progress is getting slower and harder to attain for the Germans. And we haven’t even encountered mud yet.
Rule questions and confusions
I keep tripping over rules such as Pz Army activation and tracing supply. Overall, the rules are still straight-forward but you have to read them carefully 😉 As I’m playing solitaire I fix smaller rule mistakes immediately but chalk up bigger ones as ‘friction’ or ‘fog of war’.
For example, both Soviet and German have different permissible Line-of-Supply lengths; that is the distance from the unit to a supply source. Supply sources are any railway hexes connected to the eastern map edge for the Soviets. Easy enough. However, for the Axis, it’s worded in a very round-about way. Supply sources can be either supply depots, cities, Pz Army HQs but then also railway hexes? I’m still a bit confused by what counts as valid supply line and what not. The way I’m playing now is that cities, depots and Pz HQs are supply sources with supply to them traced along railway lines.
The turns
Turn three was mostly used to straighten out the lines. Soviets got massive amounts of reinforcements and while the Axis side still had their attack bonuses this turn it, they ended up bloodying their nose against the determined Soviet defenses in key towns (Minsk and Vinnitsa). Unstoppable force vs immovable object.
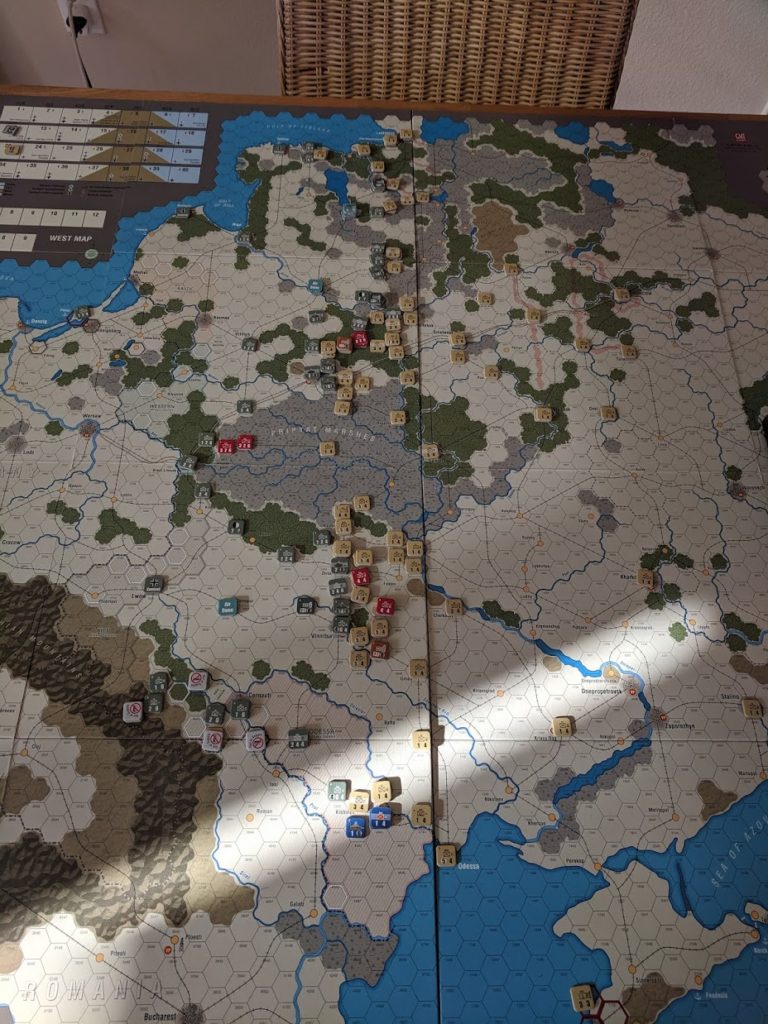
End of Turn 3. Some progress was made in the north. However, both sides spent most of their turn straightening up their fronts, bringing up more troops and, in the Soviet case, bolstering secondary lines of defense.
The Axis lost their attack bonuses on turn four. finally saw some progress in the key towns of Minsk and Vinnetsa. Although full air support was used when available, many attacks have been made at lowish odds (1:1 and 2:1) due to the increased Soviet strength combined with defense bonuses. Both towns were taken with the help of lucky die rolls in the end.
A highlight of this turn was certainly the bold Kossak raid out of the Pripyet Marshes, displacing the supply depot and cutting the supply line to the 1st and 2nd Pz Armies. All Axis units are still in supply, as the logistics chit was drawn previously. However, that action will tie down some rear guard troops.
End of the fourth turn. AG North is making progress, AG Center is stuck and slogging ahead and AG South ran into walls of determined Soviet defenses.
Another result of the supply rules and lack of ZOCs are the (for the last 3 turns) OOS supply Soviet troops on the Hungarian border. Although OOS, they are not isolated, as a LOC of any length can still be drawn to the eastern map border. These troops have been slowly making their way to the east during counter attack movement rounds. Let’s see if a breakthrough is possible next round.
Looking at the map made me realize how far the Axis still has to go to hit the Scenario 2: Case Blue starting line. Coming up will be the first two mud turns followed by the Soviet counter attack during the winter turns.
The Dark Valley went past me the first time it got released. Initially it was the cover art that put me off (as well as the high purchase price) and the space requirements: two maps, three counter sheets — a proper mini monster. However, it somehow stuck on the back of my mind for quite some time and I kept checking out the game to see if I could get it on sale. Unfortunately, once I decided to pull the trigger it was sold out and I turned towards PC-based simulations: Gary Grigsby’s War in the East and Decisive Campaigns Barbarossa (both are now way old but still good).
Playing these games you notice that there’s just so much stuff — you are literally drowning in details. Playing a single turn takes hours; mostly due to the amount of things on screen but also due to the weird UI decisions — you would think that selecting and moving units on a map using a mouse is by now a solved problem…
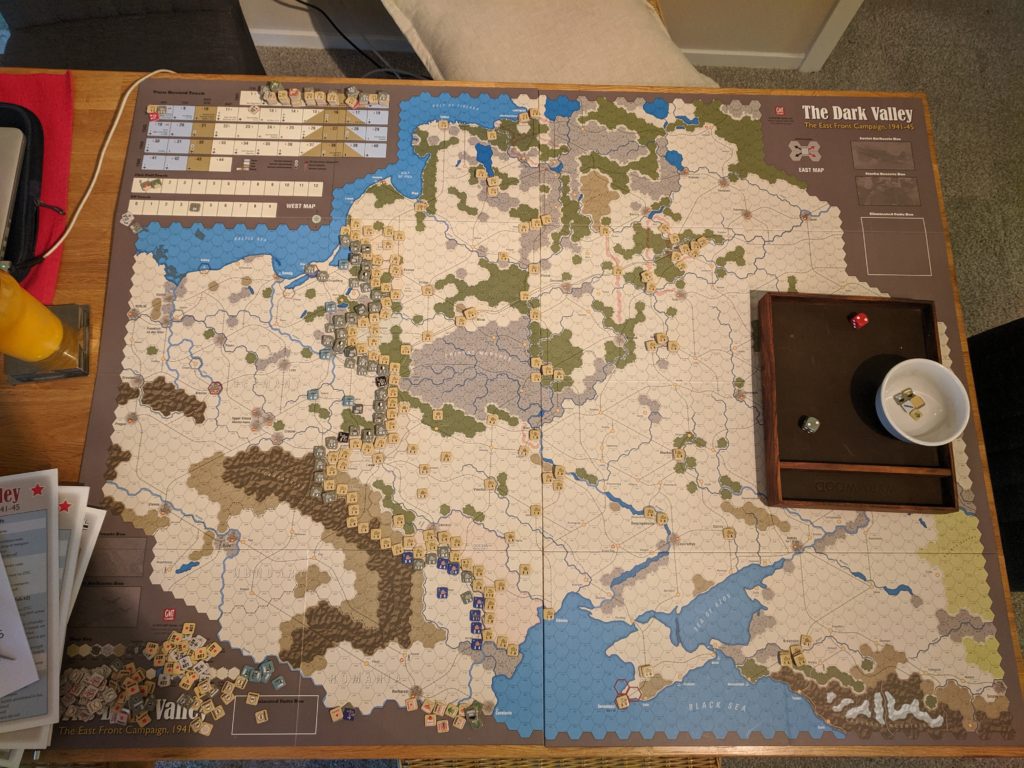
Anyway, while controlling all the stuff is in itself a statement on the campaign, I never made it very far into the campaign without burning out. Board games to the rescue! This game is still a mini-monster (setup took about an hour but I had to sort the counters too); however I was hoping that the game would be actually playable in one-to-two hour blocks and still make progress doing so. Chit-pull makes this very solitaire friendly and also gives the option to stop at any time between activations.
Components
Components are of standard (very-high) GMT quality. The graphical design will not win any prizes though. The counters are crisply printed and well cut but all the muted colors (especially of the map) look almost too conservative.
Three counter sheets of decent thickness are included, two mounted maps as well as a number of very well laid-out player aid charts. Rules clock in in a little less than forty pages and there’s a separate play book with scenarios and some questionable example of play (it literally shows every combat on turn 1 — I would have wished for more examples tackling specific questions, especially regarding logistics, etc) The rules are standard fare without much chrome, so you’re able to pick this one up immediately.
Grey – Ze Germans; Tan – Ze Soviets
There are two surprises in the OOB: most (initial) units are actually single-step and ZOCs are reserved to mechanized or two-step forces. That makes it easier for units to infiltrate around other forces.
Both lack of ZOC as well as chit-pull requires a lot of work to pull off large-scale encirclements as the supply is only checked when the logistics chit is drawn. Two encirclements failed in my current game as either supply was not checked in time, counter attacks broke through the encirclement or at least damaged units so badly that they lost their ZOC and a line of supply was restored.
As said above, rules are straight-forward and well written. Little chrome means also that most of the rules are groked and rule references are kept to a minimum.
From what I’ve seen so far, I like how supply is handled: supply is only checked when the logistics chit is pulled. Supply lines are tied to depicted roads and railroads. Additionally, supply heads are either depots that move along rail lines or the Pz Army HQs. Soviet supply just goes along any free railway that’s close by. DC:Barbarossa did something similar, in that it did away with all the logistics except for the Pz Armies, that is where supply matters.
The whole game feels like it is geared towards the campaign/Barbarossa scenario. All other scenarios are the full campaign with different starting conditions (similar to what EastFront II does). I was hoping for smaller training scenarios, maybe a Road to Leningrad or something like that. Similarly, my concerns about the large footprint remain. I can’t keep this one set up for too long. The mounted maps don’t help either; paper maps can at least be back-folded for smaller scenarios.
State of Play – Barbarossa Scenario
Barbarossa Scenario setup. Note the ton of Russian reinforcements on the turn track (and the lack of Axis reinforcements).
So, after punching and clipping all the counters (about 2 nights of movies) I set up the campaign. I didn’t put too much thought into optimizing starting positions — I just wanted to have a go at it and decide at the end of Barbarossa whether to continue.
End of first turn — chaos everywhere. The front has pretty much collapsed in the center and south, helped by disastrous mandated counter-offensives.
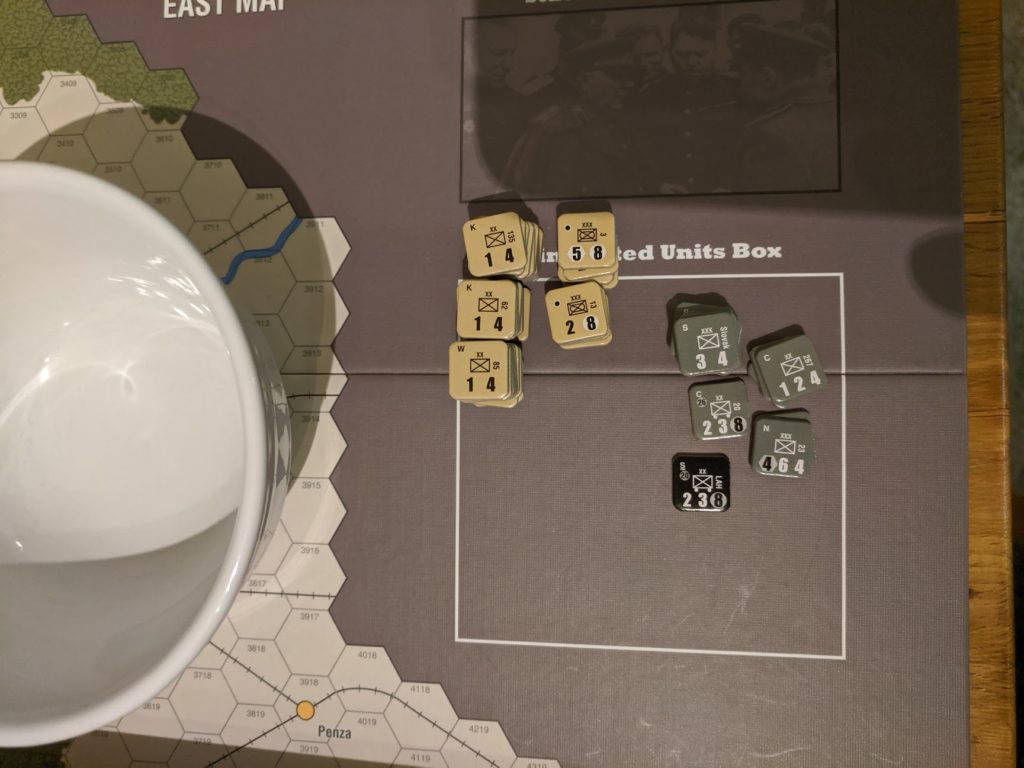
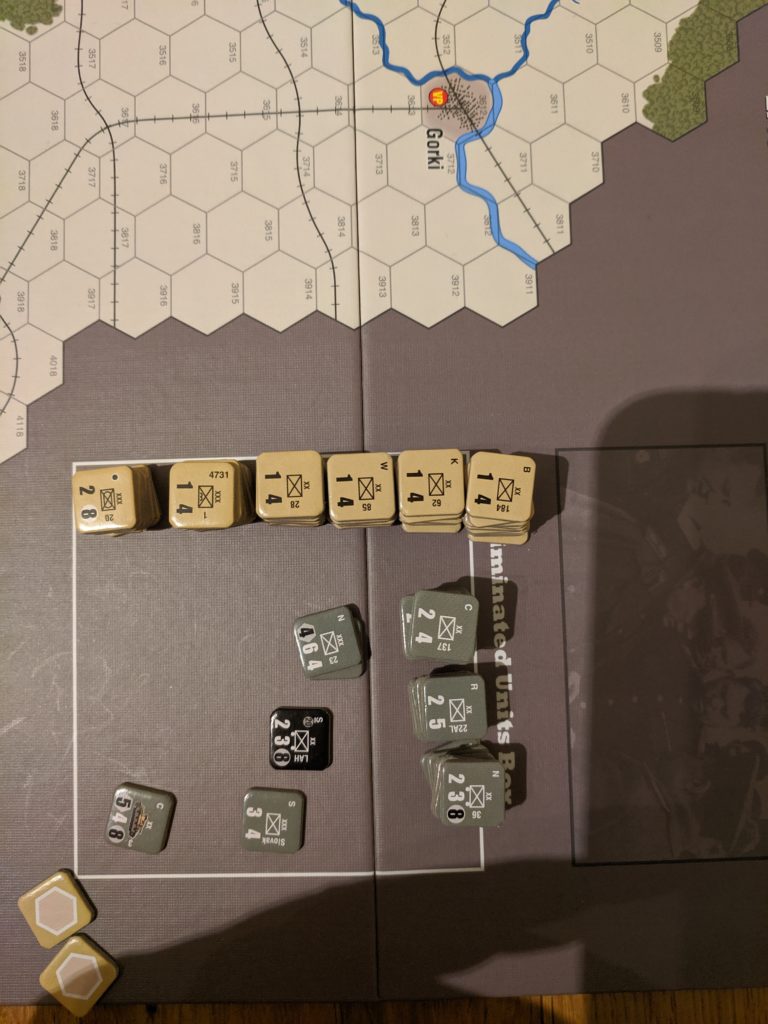
The initial turn saw tons of bad rolls on both sides which resulted in the destruction of almost too many German forces. Not pictured above are a successful breakout of a pocket due to good combat rolls. The Soviet counter attack chit was brutal — I rolled a 12 which meant that 12 attacks had to be taken. Some were successful but I also had to eliminate about 5 1-4 counters as there were no valid attacks possible.
The turn 1 dead pool. Lots of initial speed bumps but (unfortunately for the Axis) also hard-to-replace full two-stack units.
Turn 2 saw the Soviets shoring up reserves and trying to build a new line of defense. A dash to Riga ended with a lucky die roll and taking the city. However more cities are holding out properly. Defense is working in this game with both a defense combat bonus as well as a CRT shift in addition to halving of mechanized combat strengths. Repeated assaults cost the German already his first tank division (and it’s not even muddy yet …)
Soviet cavalry managed to run and hide in the Pripyet Marshes from the West while other Soviet Infantry units try to infiltrate through the same marshes from the east.
A whole swath of Soviet units along the Hungarian border was put OOS when key railway junctions at Lwow and Tarnopol were taken. However, as there is still a LOC to the eastern map edge, none of these units count as isolated.
I’m still learning at this point but references to the rule book are very rare. The game moves along at a very decent pace. It helps that some chit pulls activate only some units and the brittleness (?) of units keeps the game moving — no need to long, attritional stand offs.
End of turn 2. Vilnius, Minsk and Tarnopol are still holding out. Note that Tarnopol in the South is still in-supply at the end of the turn, as supply was checked before the tank divsions(?) were moved into place to cut it off.Turn 2 Dead Pool. Each of the Soviet 1-4 piles are 10 units high. However, there are some serious, hard-to-replace losses on the German while the Soviet player will get tons of replacement over the next couple of turns.